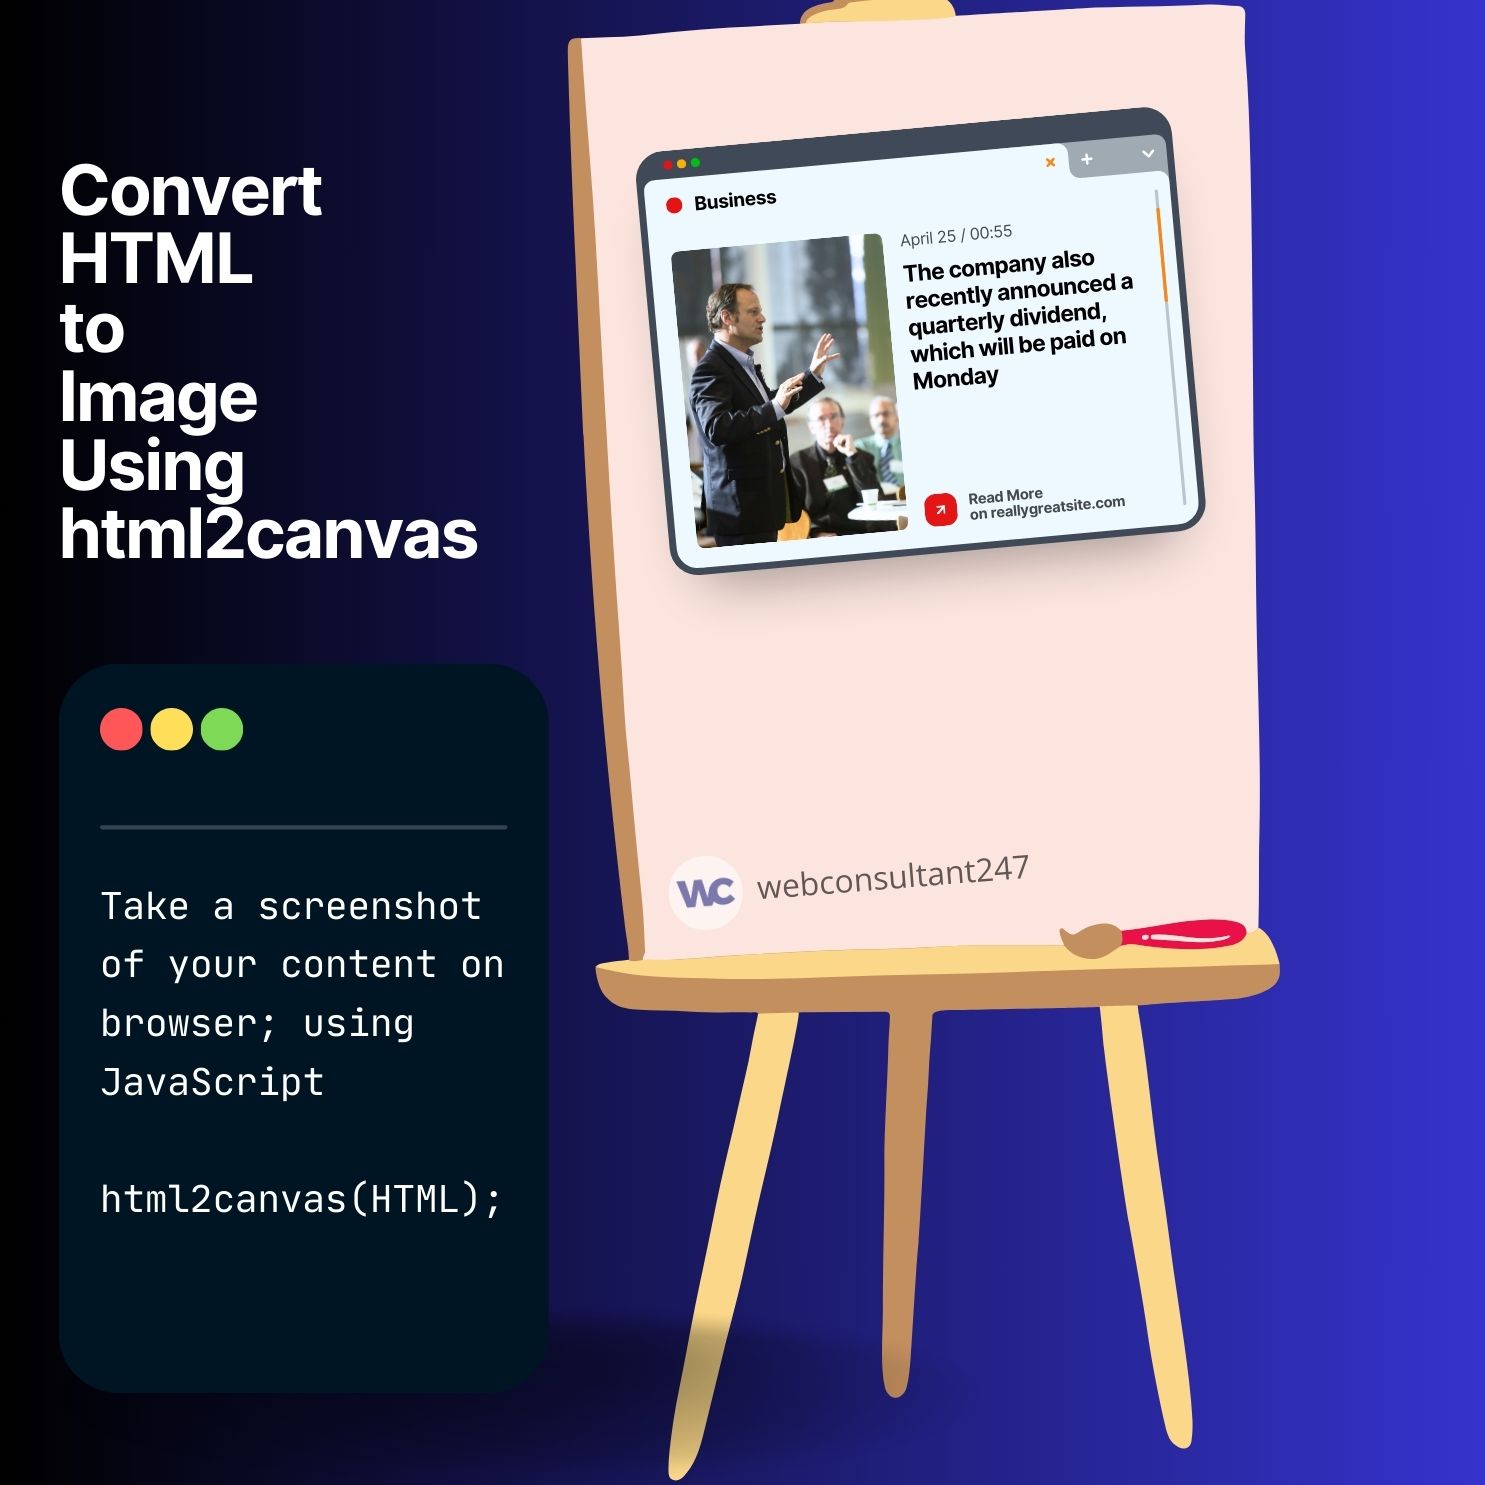
Converting HTML content into an image format can be incredibly useful for a variety of applications, from capturing web page snapshots to sharing complex information in a simple, visual format. This article will guide you through the process using JavaScript, specifically focusing on a script that employs the html2canvas library to achieve this conversion. We’ll dissect the functions within the script, explore potential errors and limitations you may encounter, such as CORS issues with images, and provide visual aids to enhance your understanding.
Before we start, it’s crucial to include the html2canvas library in your HTML. Add the following line in the <head> section of your HTML document:
<script src="https://cdnjs.cloudflare.com/ajax/libs/html2canvas/1.3.2/html2canvas.min.js"></script>
This ensures that the html2canvas function is available to your script, enabling the conversion from HTML to canvas, and eventually to an image.
document.getElementById("convertBtn").addEventListener("click", function () {
  // Subsequent code will go here
});
This code snippet is the starting point of the conversion process. It listens for a click event on the “Imageify Me” button. Once the button is clicked, the function encapsulated within will execute, triggering the conversion process.
const images = document.querySelectorAll("#content img");
const totalImages = images.length;
let imagesLoaded = 0;
Here, we’re collecting all image elements within the #content div and counting them. This step is crucial for ensuring all images within the content are fully loaded before the conversion starts, to avoid incomplete or missing images in the final output.
const imageLoaded = () => {
  imagesLoaded++;
  if (imagesLoaded === totalImages) {
    // Call html2canvas here
  }
};

if (totalImages === 0) {
  imageLoaded();
} else {
  images.forEach(img => {
    if (img.complete) {
      imageLoaded();
    } else {
      img.addEventListener("load", imageLoaded);
      img.addEventListener("error", () => {
        console.error("Error loading image: " + img.src);
        imageLoaded(); // Proceed even if an error occurs
      });
    }
  });
}
This section checks if each image within the #content div has loaded. For each loaded image, it increments the imagesLoaded counter. Once all images are loaded (or if there are no images), it proceeds to call html2canvas.
html2canvas(document.getElementById("content")).then((canvas) => {
  let img = new Image();
  let imageType = document.getElementById("imageFormat").value;
  let mimeType = imageType === "jpeg" ? "image/jpeg" : "image/png";
  let date = new Date().toISOString().split("T")[0];
  let filename = "screen_" + date + "." + imageType;

  img.src = canvas.toDataURL(mimeType);
  img.alt = "Screenshot";
  img.id = "screenshot";
  img.style.cursor = "pointer";
  document.getElementById("imageContainer").innerHTML = "";
  document.getElementById("imageContainer").appendChild(img);
});
Within the html2canvas promise, we create a new Image object and set its source to the data URL of the canvas. This effectively converts the canvas to an image. We also dynamically set the image type based on user selection (PNG or JPEG), and name the file using the current date for easy identification.
document.getElementById("screenshot").addEventListener("click", function () {
  let a = document.createElement("a");
  a.href = img.src;
  a.download = filename;
  document.body.appendChild(a);
  a.click();
  document.body.removeChild(a);
});
This final step adds a click event listener to the newly created image, allowing users to download the image by clicking on it. A temporary anchor (<a>) element is created, pointing to the image source with the download attribute set to our predefined filename, prompting the browser to download the image when clicked.
// script.js

document.getElementById("convertBtn").addEventListener("click", function () {
  // Get all images within the #content element
  const images = document.querySelectorAll("#content img");
  const totalImages = images.length;
  let imagesLoaded = 0;

  // Function to check if all images are loaded
  const imageLoaded = () => {
    imagesLoaded++;
    // If all images are loaded, run html2canvas
    if (imagesLoaded === totalImages) {
      html2canvas(document.getElementById("content")).then((canvas) => {
        // After html2canvas is done, set the image's src to the canvas data
        let img = new Image();
        let imageType = document.getElementById("imageFormat").value;
        let mimeType = imageType === "jpeg" ? "image/jpeg" : "image/png";
        let date = new Date().toISOString().split("T")[0];
        let filename = "screen_" + date + "." + imageType;

        img.src = canvas.toDataURL(mimeType);
        img.alt = "Screenshot";
        img.id = "screenshot";
        img.style.cursor = "pointer";
        document.getElementById("imageContainer").innerHTML = "";
        document.getElementById("imageContainer").appendChild(img);

        // When the image is clicked, trigger a download
        document
          .getElementById("screenshot")
          .addEventListener("click", function () {
            let a = document.createElement("a");
            a.href = img.src;
            a.download = filename;
            document.body.appendChild(a);
            a.click();
            document.body.removeChild(a);
          });
      });
    }
  };

  // If there are no images, run html2canvas immediately
  if (totalImages === 0) {
    imageLoaded();
  } else {
    // Attach onload event to each image
    images.forEach((img) => {
      if (img.complete) {
        imageLoaded();
      } else {
        img.addEventListener("load", imageLoaded);
        img.addEventListener("error", function () {
          console.error("Error loading image: " + img.src);
          imageLoaded(); // Consider even if there is an error
        });
      }
    });
  }
});
<script src="https://cdnjs.cloudflare.com/ajax/libs/html2canvas/1.3.2/html2canvas.min.js"></script>
<div id="content">
<h1>Convert Me to An Image</h1>
<h2>Then click on me to download me 😜</h2>
<p>This HTML content will be converted to an image using JavaScript, when you click on <span>Imagefiy Me </span> button below.</p>
<div id="logo"><img src="https://webconsultant247.com/wp-content/uploads/2022/03/cropped-LogoONLY.png" /> <a href="https://webconsultant247.com" target="_blank">webconsultant247.com</a> </div>
</div>
<select id="imageFormat">
<option value="png">PNG</option>
<option value="jpeg">JPEG</option>
</select>
<button id="convertBtn">Imageify Me</button>
<div id="imageContainer"></div>
/* style.css */
body {
  font-family: -apple-system, BlinkMacSystemFont, "Segoe UI", "Roboto", "Oxygen",
    "Ubuntu", "Cantarell", "Fira Sans", "Droid Sans", "Helvetica Neue",
    sans-serif;
  text-align: center;
  margin: 20px;
  background-color: #fff;
}
#logo {
  margin-top: 15px;
  display: flex;
  flex-direction: row;
  justify-content: center;
  align-items: center;
  gap: 10px;
}
#logo img {
  max-width: 30px;
}

#logo a:visited,
#logo a:hover {
  color: rebbecapurple;
}
#logo a {
  text-decoration: none;
  font-style: italic;
  font-size: 12px;
  color: rebbecapurple;
}

#content {
  border: 1px solid #000;
  padding: 20px;
  margin-bottom: 20px;
  border-radius: 10px;
  color: #333;
  background-color: #eee;
}

#content p span {
  background-color: #45a049;
  color: #fff;
  border-radius: 5px;
  border: 1px solid #45a049;
  padding: 4px;
  margin-right: 2px;
}

button#convertBtn,
select#imageFormat {
  background-color: #4caf50;
  color: white;
  padding: 10px 20px;
  margin: 20px 0;
  border: none;
  border-radius: 5px;
  cursor: pointer;
  font-size: 16px;
  outline: none;
}

button#convertBtn:hover,
select#imageFormat:hover {
  background-color: #45a049;
}

select#imageFormat {
  -webkit-appearance: none; /* Removes default chrome and safari style */
  -moz-appearance: none; /* Removes default style Firefox */
  appearance: none; /* Removes default style for IE */
  background: url('data:image/svg+xml;utf8,<svg fill="%23ffffff" height="24" viewBox="0 0 24 24" width="24" xmlns="http://www.w3.org/2000/svg"><path d="M7 10l5 5 5-5z"/></svg>')
      no-repeat right 5px center / 16px 16px,
    #4caf50; /* Custom arrow icon */
}

#imageContainer img {
  max-width: 100%;
}
JavaScript, with libraries like html2canvas, offers a straightforward approach to achieve this. However, developers often encounter several challenges and limitations during implementation. This article delves into these issues, offering insights and workarounds to help you master HTML to image conversion.
html2canvas may not accurately render very complex CSS properties or layouts, such as intricate shadows, gradients, or 3D transforms. The library essentially “paints” a picture of the content, which might not always match pixel-perfect with the original design.html2canvas captures the rendered view as a “snapshot” and might not always fully load or render custom fonts in time for the snapshot.html2canvas captures the content in its current state at the time of execution.html2canvas execution relative to the JavaScript content modifications.html2canvas from accessing these images, leading to missing images in the final output. This is a security feature implemented by browsers to prevent potentially malicious websites from accessing resources on another domain without permission.While html2canvas supports most modern browsers, there might be variations in rendering and performance across different browsers and versions. Testing across the browsers your audience uses is crucial to ensure a consistent experience.
Learn more about html2canvas here: https://html2canvas.hertzen.com/