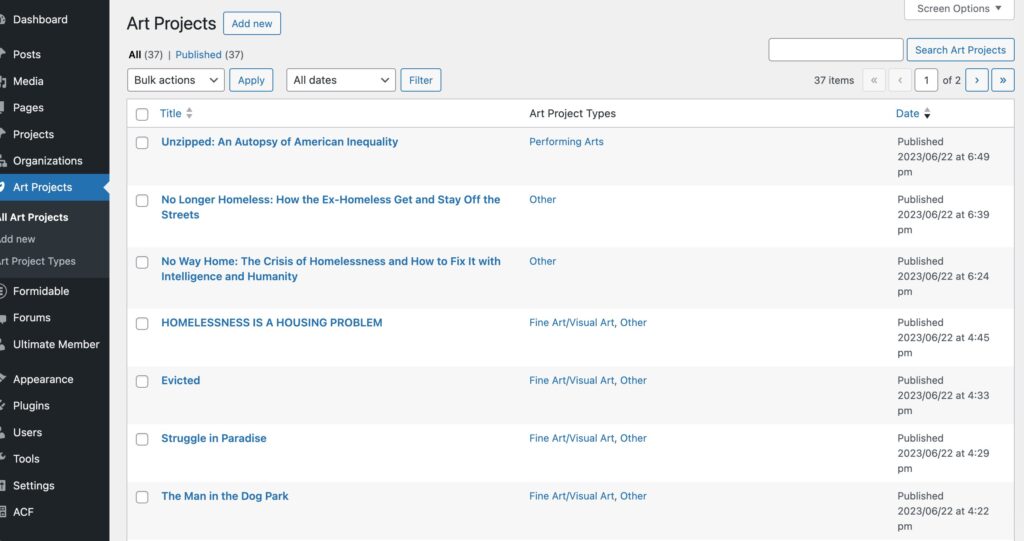
Creating custom post types in WordPress allows you to extend the functionality of your website, enabling you to manage and display different types of content that are specific to your needs. Whether you’re looking to add a portfolio, testimonials, or any other unique content type, this guide will walk you through the process from beginning to end. We’ll cover the basics of setting up custom post types manually and also suggest some plugins that can help simplify the process.
What is a Custom Post Type?
Custom post types are a powerful feature in WordPress that allow you to go beyond posts and pages by creating different content types for your site. They are ideal for any content that doesn’t fit into the default ‘post’ or ‘page’ types, providing more flexibility and control over how content is organized and displayed.
Why Use Custom Post Types?
Custom post types can transform a standard WordPress site into a fully-fledged content management system tailored to your specific requirements, making it easier to separate and manage distinct content types.
Step 1: Planning Your Custom Post Type
Before diving into the code, it’s important to plan out what features your custom post type will need. Consider the following:
Step 2: Adding the Code to functions.php
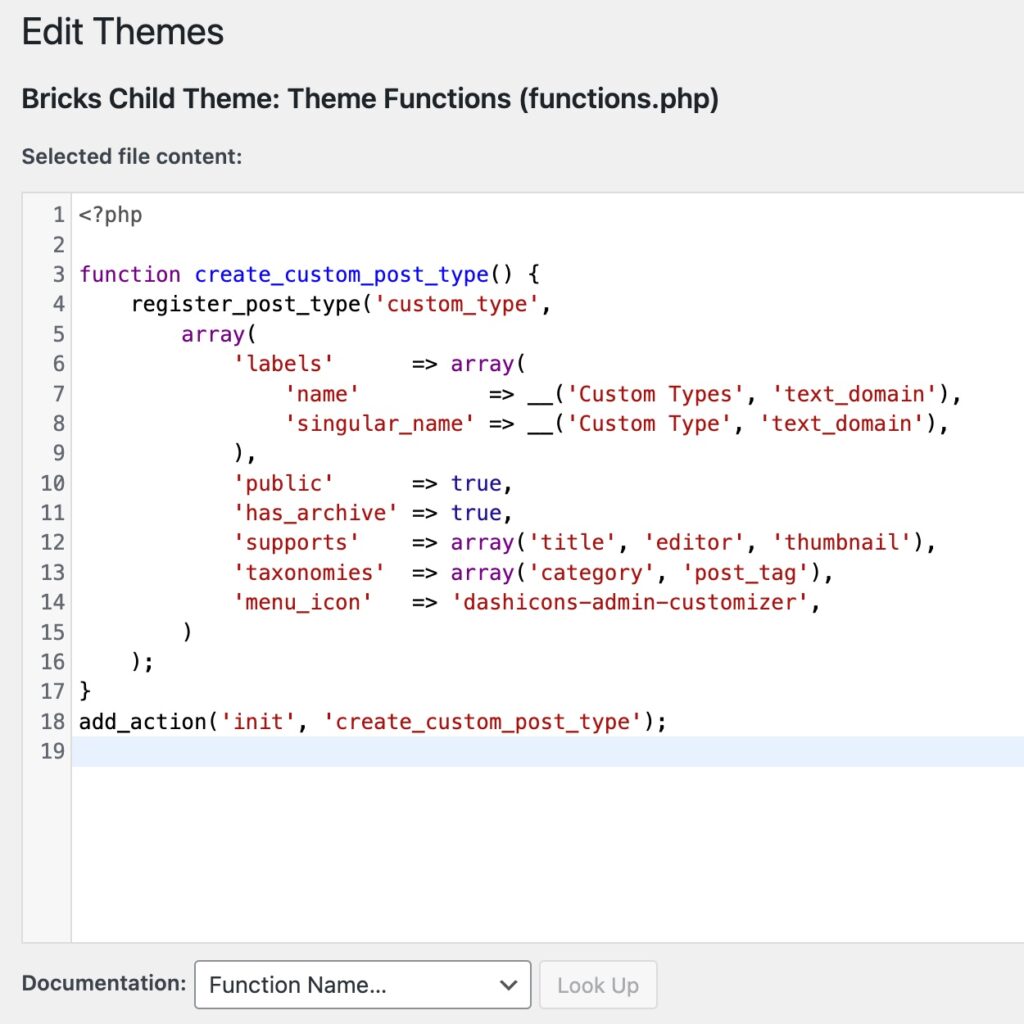
To create a custom post type, you will need to add code to your theme’s functions.php file. Here is a basic example of what this might look like:
function create_custom_post_type() {
    register_post_type('custom_type',
        array(
            'labels'      => array(
                'name'          => __('Custom Types', 'text_domain'),
                'singular_name' => __('Custom Type', 'text_domain'),
            ),
            'public'      => true,
            'has_archive' => true,
            'supports'    => array('title', 'editor', 'thumbnail'),
            'taxonomies'  => array('category', 'post_tag'), //choose the taxonomy that you would like
            'menu_icon'   => 'dashicons-admin-customizer', //icon
        )
    );
}
add_action('init', 'create_custom_post_type');

What Are Taxonomies?
Taxonomies in WordPress are used to group posts and custom post types together. There are two types that come built-in: categories and tags. However, you can also create custom taxonomies to further customize the way content is classified.
Creating Custom Taxonomies
Here’s how you can add custom taxonomies for your new post type:
function create_custom_taxonomy() {
    register_taxonomy(
        'custom_taxonomy',
        'custom_type',
        array(
            'label'        => __( 'Custom Taxonomy' ),
            'rewrite'      => array( 'slug' => 'custom_taxonomy' ),
            'hierarchical' => true,
        )
    );
}
add_action( 'init', 'create_custom_taxonomy' );
While coding your own custom post types and taxonomies provides the most flexibility, it can also be complex. Here are a few plugins that make the process easier:
To enhance the customizability and functionality of your custom post types in WordPress, it’s important to understand all the different parameters and options you can define in your code. Here’s a deeper dive into the various properties you can set for custom post types to ensure they meet your exact needs.
When registering a new custom post type in WordPress using the register_post_type() function, numerous arguments can be provided to customize its behavior and features. Below is an overview of some of the key parameters and what they control:
1. labels: This is an array of labels for various aspects of the post type. You can customize the name as it appears in the WordPress admin panel, menu names, add new text, and more.
2. description: Provides a brief explanation of the post type.
3. public: Controls how the post type is visible to authors and readers. Set this to true to show it in the user interface.
4. hierarchical: Determines whether the post type is hierarchical like pages or flat like posts. Hierarchical types allow Parent to be specified.
5. exclude_from_search: Whether to exclude posts with this post type from front-end search results.
6. publicly_queryable: Controls whether queries can be performed on the front end as part of parse_request().
7. show_ui: Controls whether to generate a default UI for managing this post type in the admin.
8. show_in_menu: Where to show the post type in the admin menu. It can be true or false, or it can be a string specifying a submenu to display in.
9. menu_position: The position in the menu order the post type should appear. Works in conjunction with show_in_menu.
10. menu_icon: The URL to the icon to be used for this menu or a dashicon class.
11. capability_type: The string to use to build the read, edit, and delete capabilities.
12. capabilities: An array of the capabilities for this post type.
13. supports: An array of features this post type supports. Common elements include ‘title’, ‘editor’, ‘comments’, ‘revisions’, ‘trackbacks’, ‘author’, ‘excerpt’, ‘page-attributes’, ‘thumbnail’, ‘custom-fields’, and ‘post-formats’.
14. taxonomies: An array of registered taxonomies like categories or tags that will be grouped with the post type.
15. has_archive: Enables post type archives. Will use $post_type as archive slug by default.
16. rewrite: Triggers the handling of rewrites for this post type. To prevent rewrites, set to false.
17. query_var: Sets the query_var key for this post type.
18. can_export: Can this post_type be exported.
Once you understand these parameters, you can further customize your post type to fit exactly what your project needs. For example, if you are adding a portfolio item post type, you might want to enable features like ‘thumbnail’ for featured images, ‘custom-fields’ for additional metadata, and ‘page-attributes’ to allow a hierarchy within portfolio items.
Can custom post types use the default WordPress categories and tags? Yes, custom post types can use the built-in taxonomies, or you can create specific ones as needed.
Are there any limitations to custom post types? The main limitation is your own need for specific features and the complexity of implementing them, especially when getting deep into custom fields and taxonomy relations.
Do I need to know how to code to create custom post types? While not strictly necessary thanks to plugins like Custom Post Type UI, knowing how to code gives you more control over the functionality and integration of the custom post types.
How do I display custom post types on my website? You can modify your theme files to include new template files specific to your custom post types, or use plugins that handle display through shortcodes.
What should I do if my custom post types aren’t showing up? Make sure that your code is error-free and that you’ve flushed your permalink settings by going to Settings > Permalinks and re-saving the settings.
How do I ensure my custom post types are SEO-friendly? Use descriptive, keyword-rich names for your post types and taxonomies, and make sure that your content is well-structured and linked within your site.
